Request additional features and assistance for your WebCasting event
If you purchased an AT&T WebCasting plan, you can request additional features, event management services, and transcription services for your event. You can request:
- An event production manager to book and set up the event and provide training and best practices before the event. They also start and manage the event and provide in-event assistance (Premium Assist).
- An event production manager to start the event and provide in-event assistance (Standard Assist)
Depending on the level of assistance you select, you can also request the following features:
- Increased event capacity
- An attendee portal with breakout sessions and interactive enhanced features (Virtual Conference Module)
- Live screen sharing
- Real-time captions for Live and On-Demand events and replays
- Event transcripts in multiple languages
- Extended event archive and replay availability
- Additional professional services that are not included with your plan
For detailed information about each option, click the info button on the Additional Features Request site form or check the AT&T WebCasting Feature Summary.
Before you begin
Make a note of the Client ID found in your welcome email.
For Standard Assist, you must create and schedule your event before making your request. After scheduling your event, note the Event ID found in your new webcast confirmation email. You will also need to know the event type, the telephone or video broadcast type, and the video streaming option you scheduled for the event to complete your request.
Request additional features and assistance
To request additional features and assistance:
- Go to the Additional Features Request site (opens new tab).
- In the Contact Information section, enter your company name, the name and email address of the person who manages the logins for the account, and the Client ID for the account.
- Enter the name, email, phone number, and region of the person organizing the event. If desired, enter the email addresses of other people who should receive the event confirmation email.
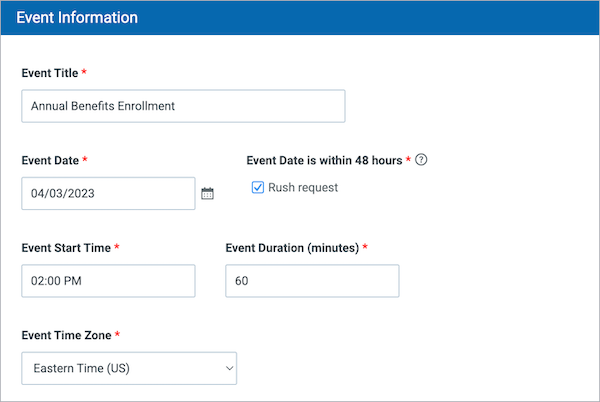
- In the Event Information section, enter the event title, date, start time, duration, and time zone. Select Rush Request if the event is within 48 hours.
- In the Web Event Details section, select the type of assistance you need: Standard or Premium Assist.
- For Standard Assist, enter the Event ID.
- For Premium Assist, under Do you have an event ID? select No to have an event production manager create the event for you. If you have already scheduled the event, select Yes and enter the Event ID.
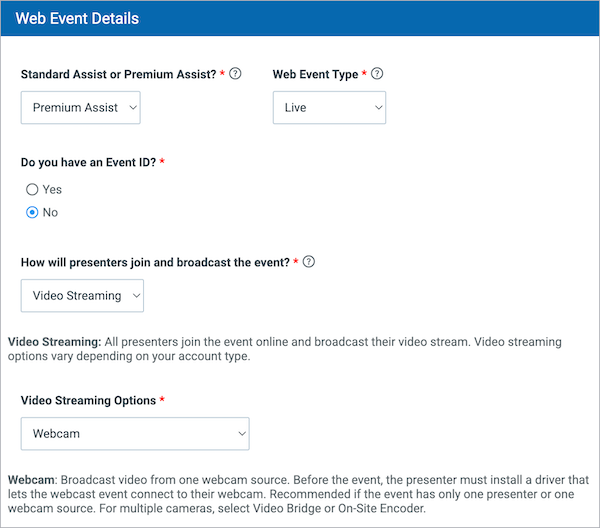
- Select the web event type, telephone or video broadcast type, and the video streaming option.
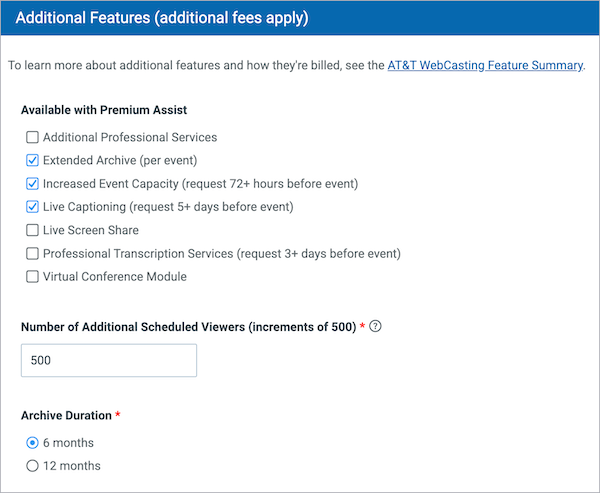
- In the Additional Features section, select the features you'd like to add to the event.
- In the Additional Comments box, enter any special instructions or questions you have.
- When finished, click Submit.
After you submit your request, an event production manager will contact you within 48 hours to confirm the event details.